A Glance To Use The Status Bar In Word
In this article, we're explaining you the options of Status Bar and how to customize it to best suit the way you work and improve your productivity.
The Status Bar, for MS Word, is available at the bottom of the word document window, which displays the information of your document, such as what page you are currently viewing, how many words are in your document, whether any proofing errors were found and etc.,
The Status Bar can be easily customized by adding more information to
or removing information from it.
To do this, right-click anywhere on
the Status Bar. Items that have check marks next to them display on the
Status Bar. These items may not display at all times, depending on the
current circumstances. For instance, if you’re not sharing the document
with other authors, “Number of Authors Editing” will not display on
the Status Bar even if you have selected it in the “Customize Status
Bar” popup menu.
Additional information, regarding different parts, of your document
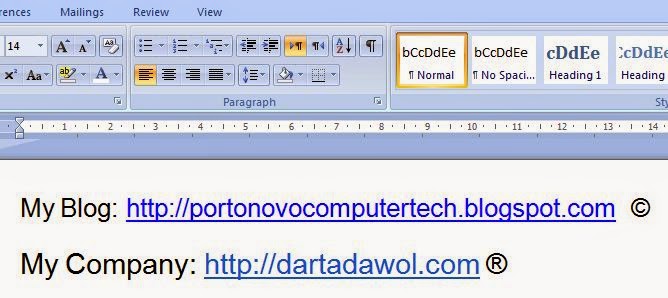
displays in the Status Bar. For instance, when hover your mouse over a
hyperlink ......
....... the URL to the hyperlink will be displayed in the Status Bar.
Further,
if you copy and paste the content from a webpage onto a Word document, then
you hover your mouse over that pasted image, the URL for that image
will also be displayed in the Status Bar.
NOTE: You can press “Ctrl” and click on a hyperlink to open the link in a browser window and also avoid automatically creating hyperlinks.
The icons on right side of the Status Bar provide information
such as Print Layout, Full Screen Reading, Web Layout, Outline or Draft
and the Zoom Level as they allow you to change, how you are using Word.


